Redis User Management
Instaclustr provides a User Management UI for Redis clusters to help you with managing users. The User Management UI provides four functions:
- List Users
- Add Users
- Change User Passwords
- Delete Users
Users created or listed in the Users list will have read and/or write access to all keys in the cluster, depending on the level granted. If you require any other configuration, please submit a support request.
All Redis clusters will have an icredis user automatically created as a convenience, which can be deleted. If the icredis user is deleted the credentials will disappear from the cluster’s Connection Info page.
Instaclustr reserves the default user for internal cluster management.
User Management UI
These examples show how to use the features of the Instaclustr console’s User Management UI.
List Users
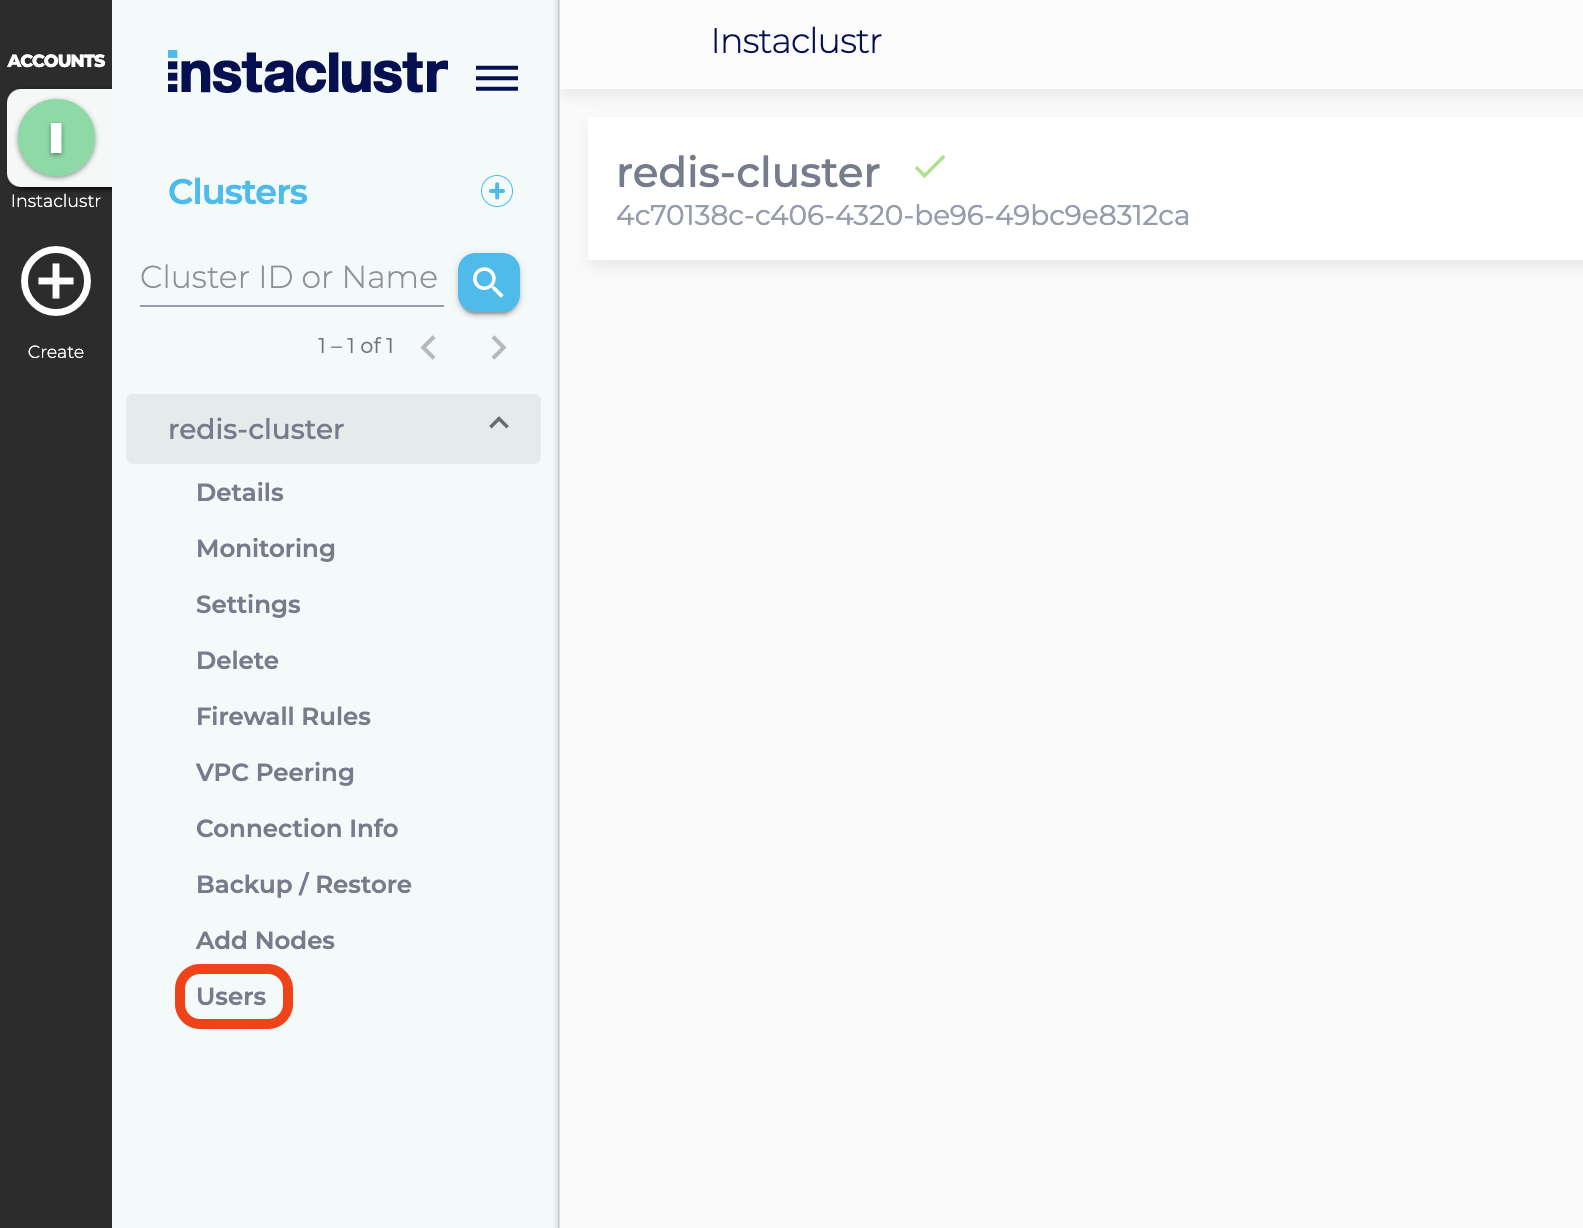
- To list available Redis users, select Users under the sidebar menu of your Redis cluster.

- The Users page will list all Redis users on the cluster.

Add User
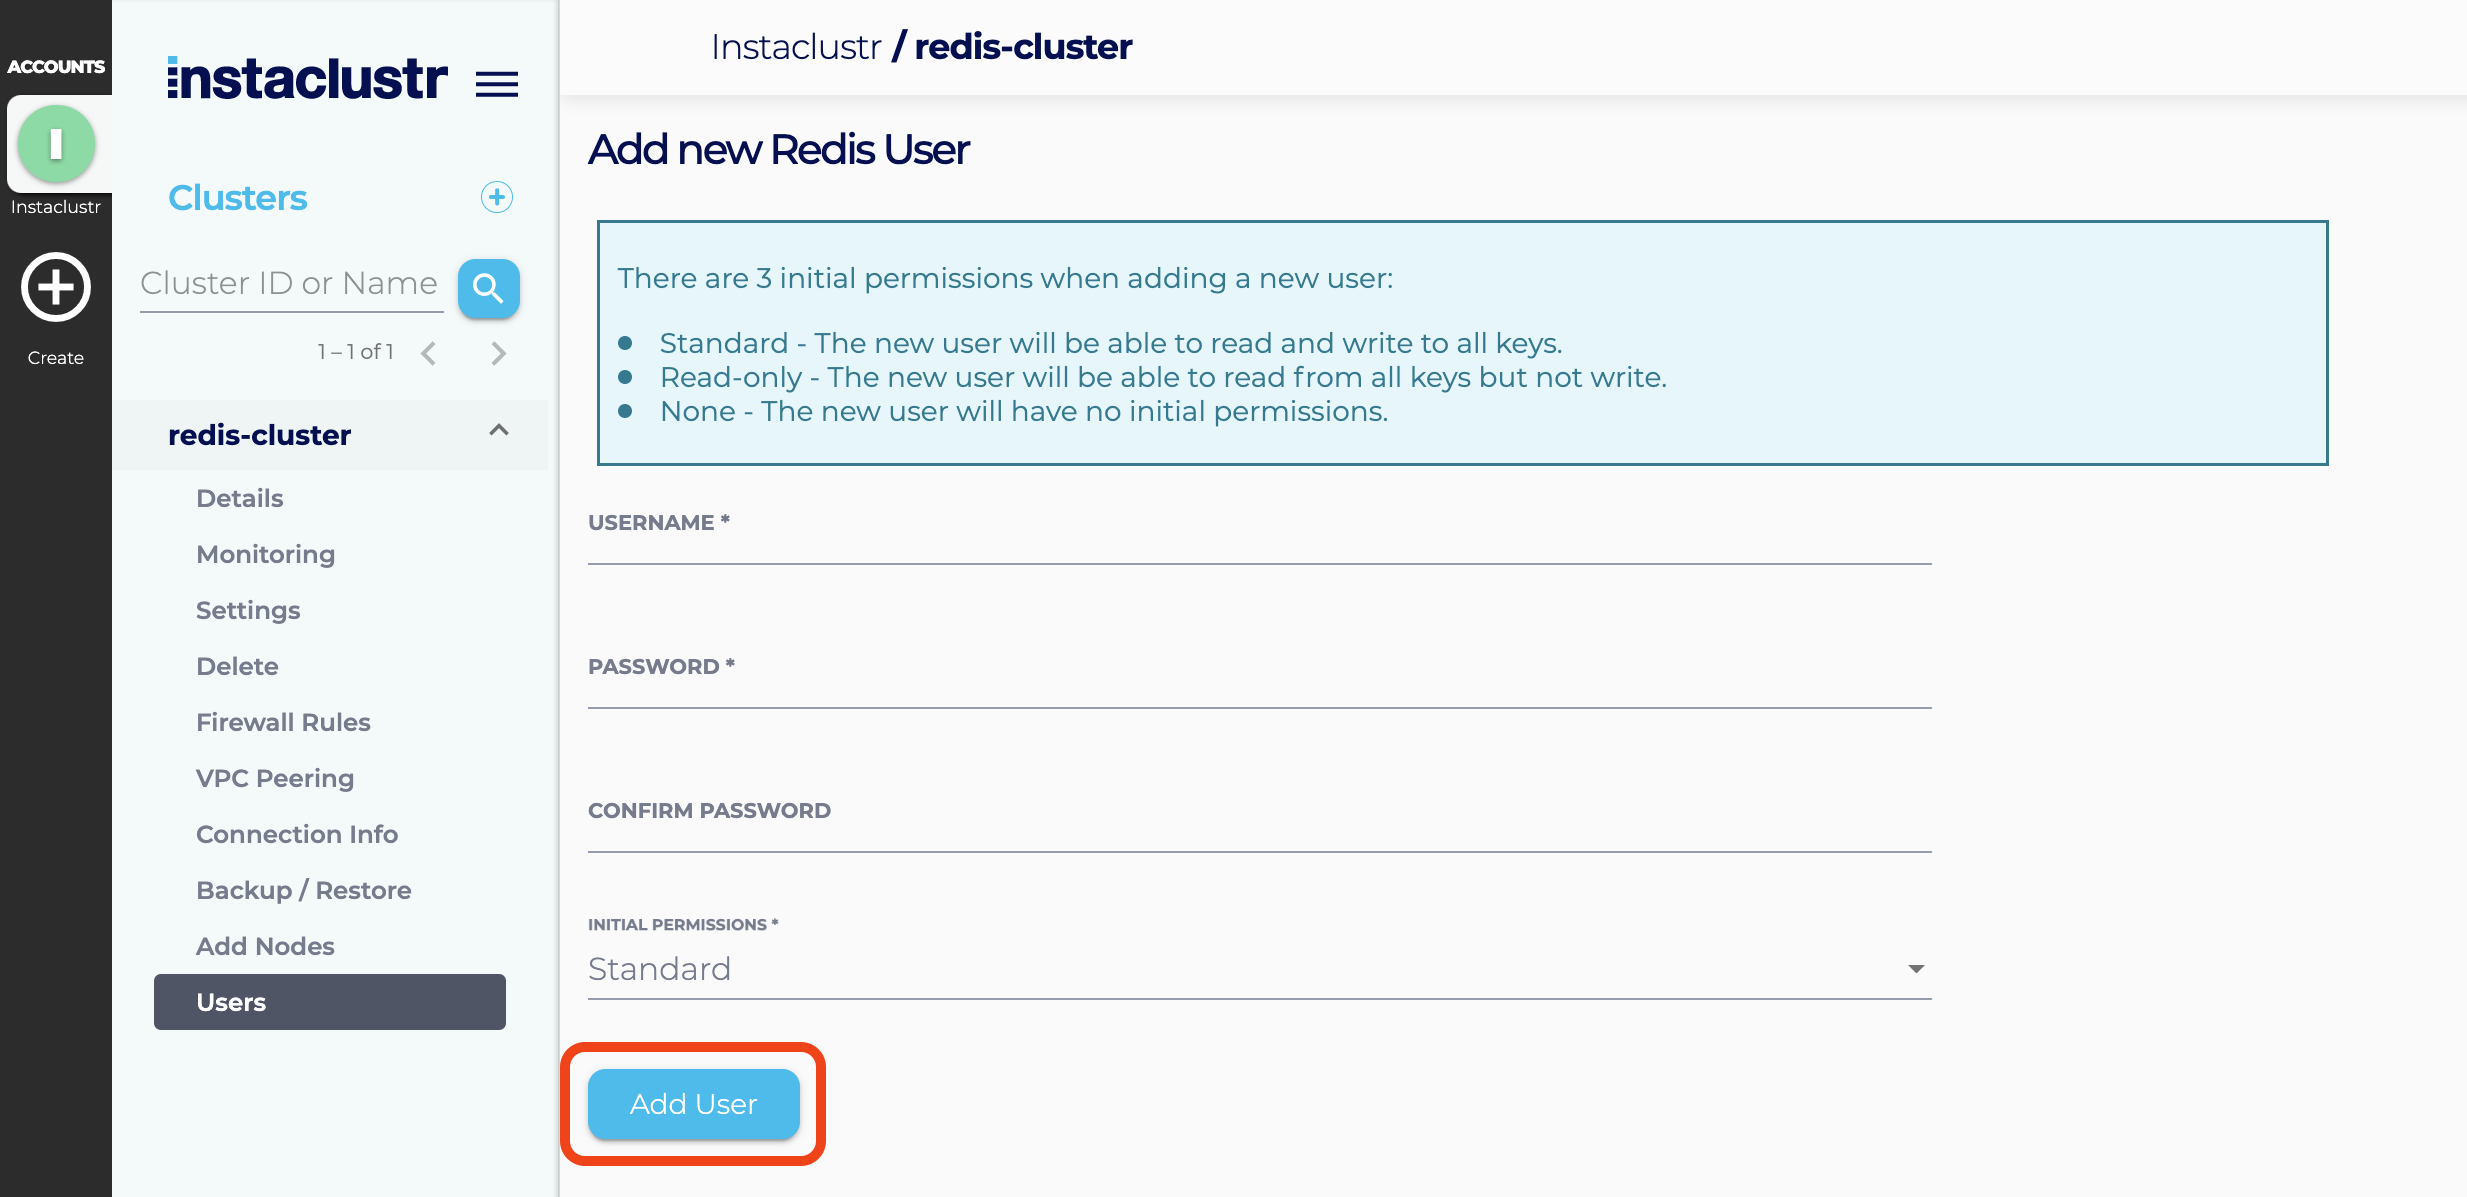
- From the Users page, click the New User button. This will open up a new page for adding a user.

- On the New User page, enter the desired username and password for the new Redis user, and the desired level of initial permissions. The initial permissions setting can be stored in one of three things:
- Standard – The new user will be able to read and write to all keys
- Read only – The new user will be able to read from all keys, but not write
- None – The new user will have no permissions.
- Once you’ve entered the required information, click the Create User button. If your username and password are valid, your new user will be created.

- Once the user is created, you will be redirected to the Users page, with a success message displayed at the top of the page. Your new user will be shown in the list of users.

Change User Password
- To change the password of an existing Redis user, first visit the Users page of your Redis cluster.
- From the Users page, click the Change Password button of the user whose password you want to change. This will open up a new page from changing the selected user’s password.

- On the Change User Password page, enter the new password for the user. Then click on the Change Password button.

- After clicking the Change Password button you will be redirected to the Users page, with a success message displayed at the top of the page.
Delete User
- To delete an existing Redis user, first visit the Users page of your Redis cluster.
- From the Users page, click the Delete button of the user that you wish to delete.

- On the Delete User page, verify that you have selected the correct user to be deleted and then click on Delete User.
- You will then be redirected to the Users page, with a success message displayed at the top of the page. The deleted user will no longer be shown in the list of users.
Redis ACL Support
Instaclustr Redis clusters have their ACL’s centrally managed.
To support our customers clusters effectively, Redis users created via the Instaclustr Management UI are restricted from access commands marked as “dangerous” by the Redis project.
Instaclustr disallows these commands, then re-enables some according to this list.
Any command not listed is allowed.
| Category | Allowed commands |
| 1) “flushdb” | None |
| 2) “acl” | acl list acl users acl genpass acl whoami |
| 3) “slowlog” | All |
| 4) “debug” | None |
| 5) “role” | All |
| 6) “keys” | All |
| 7) “pfselftest” | None |
| 8) “client” | client id client getname client setname |
| 9) “bgrewriteaof” | None |
| 10) “replicaof” | None |
| 11) “monitor” | None |
| 12) “restore-asking” | None |
| 13) “latency” | All |
| 14) “replconf” | None |
| 15) “pfdebug” | None |
| 16) “bgsave” | None |
| 17) “sync” | None |
| 18) “config” | config get |
| 19) “flushall” | None |
| 20) “cluster” | cluster info cluster keyslot cluster myid cluster nodes cluster slots |
| 21) “info” | All |
| 22) “lastsave” | None |
| 23) “slaveof” | None |
| 24) “swapdb” | None |
| 25) “module” | None |
| 26) “restore” | All |
| 27) “migrate” | None |
| 28) “save” | None |
| 29) “shutdown” | None |
| 30) “psync” | None |
| 31) “sort” | All |